Wednesday, May 28, 2014

Join Stampin' Up! and My Team For Just $50!


For a limited time you can join Stampin' Up! for just $50!
This amazing opportunity will only last until June 30, 2014, so take what you already love doing, 
Stamping, and crafting - and make a little money while you're at it!

When you join Stampin' Up! during this limited-time offer, you'll receive:

 $55 worth of products that you pick out yourself!
 Demo supplies
 A 30% discount on your first order (order must be $150 or more and placed within your first 45 days)
 A 20% discount on all your orders 
 Free Paper Pumpkin Kit
 Free entrance to our annual Convention* (must be registered by the 20th of June)

Create friendships that will last forever and enjoy the benefits of fun, friends, and creativity - come join my team today!


Monday, May 26, 2014

Would You Like A Flower Clip?


Here's my latest find from our local CVS drug store.  I love looking through the dollar bins at any store I go in.  Perfect for adding paper flowers too.
And I've got some just waiting to go home with those that would like to host a workshop.  Just let me know.  Have a great day everyone!

Sunday, May 25, 2014

Hooray For Today! (CASing Jamie)


I LOVE the Retro Fresh DSP and am going to be very sad to see it retire.  This is my version of a card made by Jamie Hurley.  I made my cute little carnation with the 1 1/4" Scallop Circle punch and thought it turned out pretty.  This card also uses the Honeycomb and Banner Framelits.  The saying is from the stamp set Geometrics.  Just a really fun card to make.  Thanks for stopping by and have a great weekend. 

Saturday, May 24, 2014

Just Because


Do you ever need that little "just because" kind of card?  Well here you go.  Super fun and easy.  This was my swap for the new catty reveal party in St. Louis.  This card uses the Delightful Dozen stamp set and the Flower Frames Collection Framelits.  Have a great day and thanks for stoping by!

Friday, May 16, 2014

Covered Notepad & Matching Pen


Here's a fun little gift idea.  I found some cute little notepads (4 to a pack) for $1.00 at my local CVS store.  They had them in blue, green and yellow.  They measure 5" x 3 1/2" and are a perfect size for these cute little sets I made.  The pens are called RSVP pens and you can screw the bottom off and add dsp paper to match your notepad.  Very fun and easy!
Here's an inside shot of the notepad holder and notepad.  Thanks for stopping by.  Have a great day!

Thursday, May 15, 2014

Guy Card


Hello there, today's share is a guy card.  I made this wrench card for my Father-in-law's birthday.
My idea came from a card I saw on pinterest by Peg Coombes.  Punch art is so fun!  Thanks for stopping by and have a great day!

Wednesday, May 14, 2014

Wednesday, April 30, 2014

Stampin' Up! New Catty Premier In St. Louis

Five of us took a trip to St. Louis to meet up with other demos to check out the new catty at the movie theater there.  It was so neat.  they broadcast live from California with some of Stampin' Ups! best, including Shelli herself.  We had a blast.
Waiting in line to get in to the event.
Here's our sign:)
Shhhh, the show is about to begin!
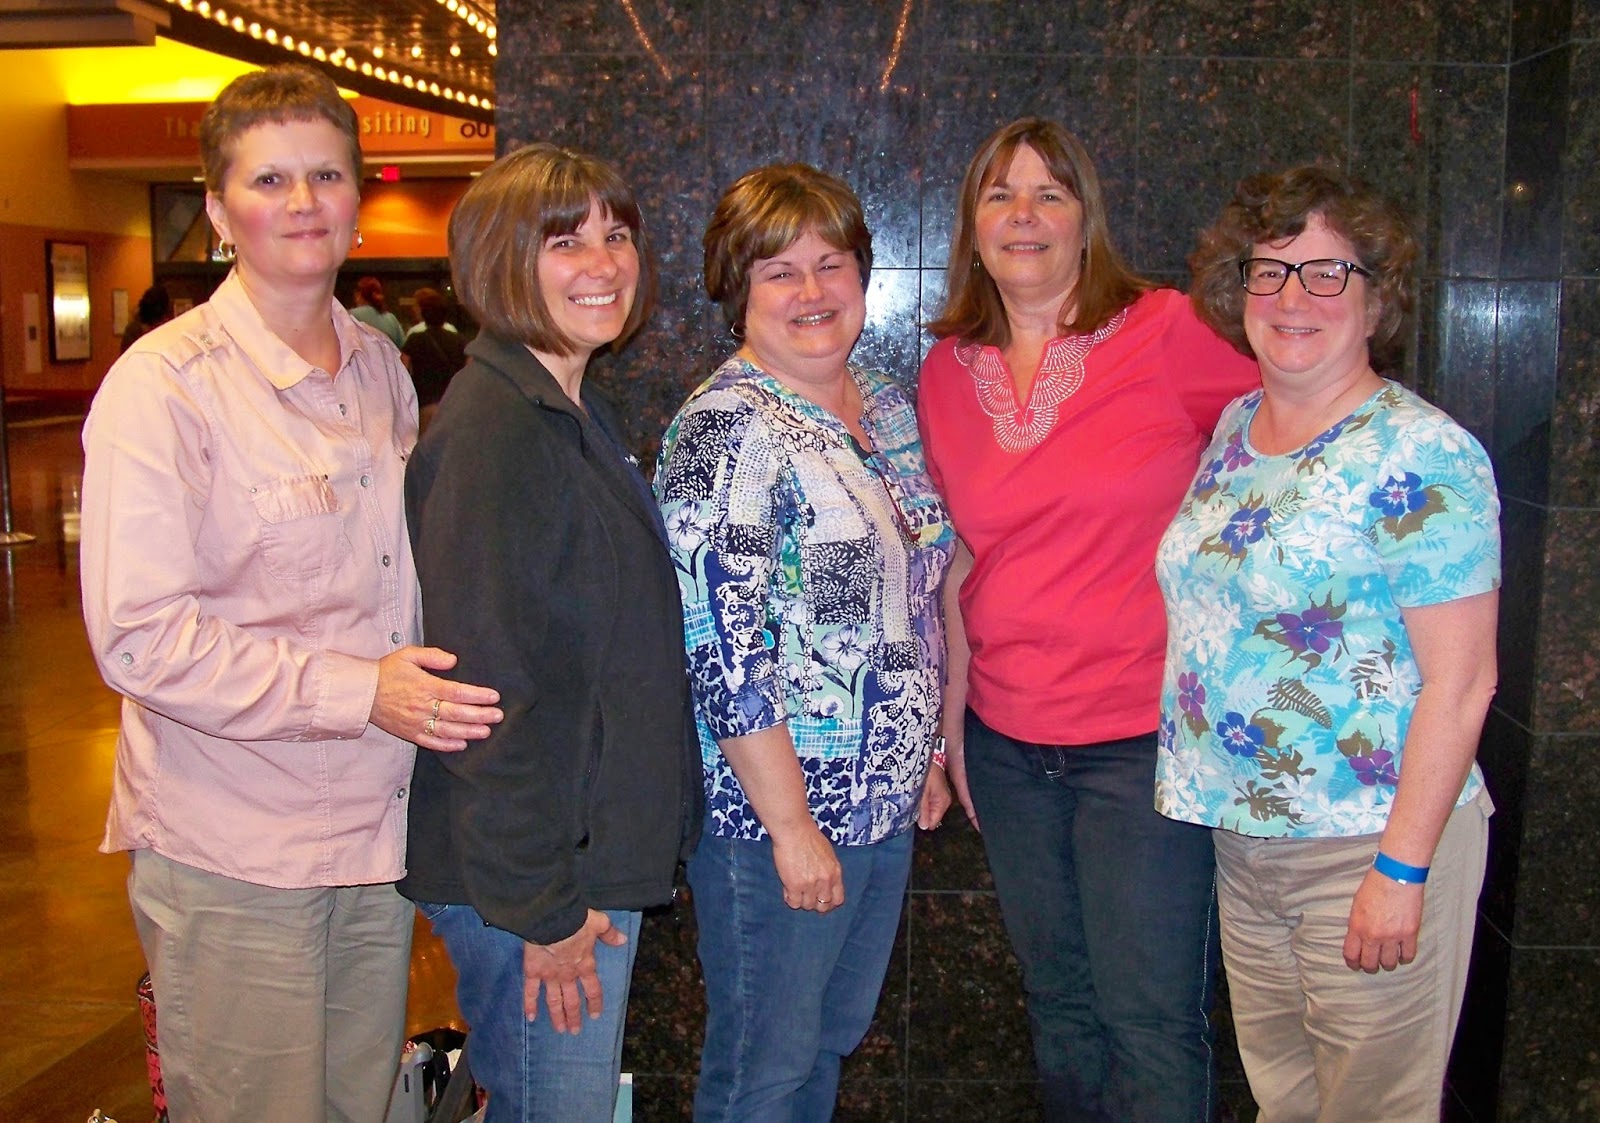
Group shot of the 5 of us.  Teresa Simpson, Shannon Bruner, Lori Smith, me, and Robin Goens.  I had so much fun with this girls!
and I got to finally meet Jan Hoyt in person!  We have been online friends for a long time now.  Well I guess the first time we met actually was when we were both on our way back from vacationing in Florida.  We were both driving on the interstate when I notice their car plate and thought it might be her.  I had my husband pass them and honk while I stuck my SU catty out the window and gave a thumbs up.  They honked back.  When I got home I sent her a message to see if it had been her and it was!  So funny.  Course my DH thought I was crazy. Lol Oh well.
Leaving the Cinema and heading home to look at our new cattys!


Friday, April 25, 2014

A Couple of Scrapbook Pages


Our triplet grandsons got to take their first combine ride with their daddy and mommy last fall.  They loved it!
Last 4th of July, birthday month for the boys.  A bucket full for sure.

Stampin' Addicts Retiring Stamp Set Blog Hop Stop #4


Hello stampers and welcome to Stampin' Addicts Retiring Blog Hop.  Stampin' Up! had published their retiring list and we thought we would feature some of those retiring stamp sets in hopes that maybe you might need just one more set.  And to go along with this Stampin' Up! is offering FREE shipping on all orders placed this week!  Doesn't matter how small or how big, FREE shipping for all!  Ok back to the Hop, if you have been following the hop in order then you have just arrived from Paula's Blog where she wow'd us with her creativity using the stamp set Happy Day.  There are 10 stops on the Hop and if you are just starting at my Blog (Stop #4) you can hop from one to the other until you make a complete circle back to mine.  So on to my projects.  I'm featuring the stamp set Hello, Lovely.  To be honest this is the first time I've even used the set and it has turned out to be kinda a sleeper of a set for me.  I LOVE IT.  Check out my projects.
First a group shot
My first project, a card using this pretty little stamp, which coordinates perfectly with the Decorative Label punch.
Second is a fun little gift pouch made using the Envelope Punch Board and this cute little label.  I added  some of our ruffled ribbon to top it off and a fun little arrow from the stamp set.
My last project is my favorite.  I've been wanting to make some of these so called "Inches" charms and this stamp set has the perfect stamps for them.  EKKKK!!!  Why didn't I see it before?  As you can see so many possibilities with this set.  Well that's all I have to offer so it's time to move on to Holly's Blog and her wonderful creations using the stamp set Horse Frontier.  


Wednesday, April 16, 2014

"What Will It Bee?" Banner

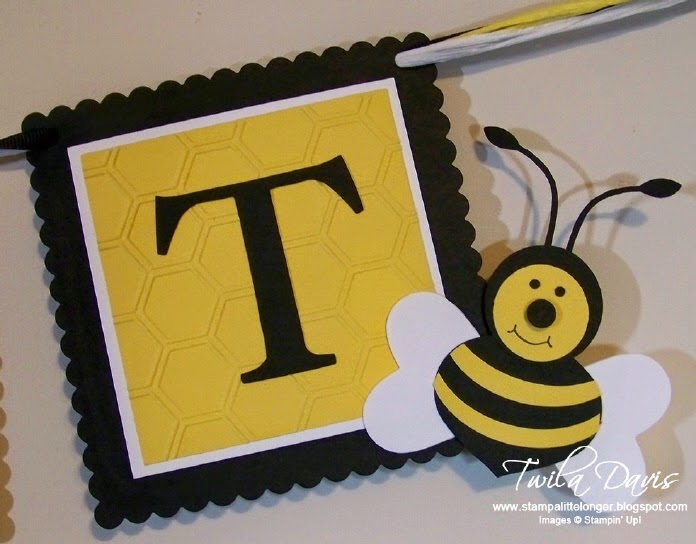
I'm so happy with the way this banner turned out that I made for a customer. Thought I would share it with you. After looking at some punch art bees on pinterest this is what I came up with for mine.
He is pretty cute, don't you think?

And here is the full banner.  It measures about 7 - 8 foot long.  I used Stampin' Up!s Square framelits once again for this project and the Honeycomb emboss folder to give each block a bit of texture.  The dies I used for the letters are retired now, but are my favorite for making banners.  Thanks for looking and have a great day!

Tuesday, April 15, 2014

Introducing Project Life by Stampin' Up!


I am so excited about this new venture that Stampin' Up! has with the founder of Project Life.  Can't wait to get my hands on the new exclusive products will we carry.  Please let me know if you are interested in attending a class on this as I'm planning on having a couple at least.  EEEKKKKK!!!!  Wohoo!  Love working for this wonderful company!

Need A Quick and Easy Little Easter Basket?

I had a lot of fun making some of these cute little Easter Baskets for a Craft Fair this past week.  They are very easy to make.  I've posted a quick" how to" in this post, just incase you want to make one.
Here's how I made it:
Start with a 6" x 6" piece of cardstock, score at 2" and 4" down and across.  This gives you (9) 2" squares.  Cut down at the 2" and 4" to the cross score.  Also cut up at the 2" and 4" to the cross score.
Trim each outside corner at an angle as shown in picture.  Cut (6) 1 3/4" squares of DSP and add the first 4 as shown.  Trimming corners of corner pieces 1st.  Cut a 1" by 8 1/2" piece of cardstock and punch the edges with the Scallop Trim Border punch.  Add a 1/2" x 8 1/2" piece of DSP to it.
Next fold up your sides over lapping them as shown.  Staple the handle to the back of the two side pieces being careful not to staple the middle piece up.
Then glue the middle piece in place to hide the staple.  Sticky Strip can also be used instead of the staples I just preferred to use my stapler.  
As you can see it then hides the staples and holds together very well.  Add your other 2 side pieces at this time.  
Stamp a greeting and add to the front.  I added the Happy Easter saying from the retired stamp set Wacky Wishes which I punched out with the Scallop Oval punch and sponged the edges in Pistachio Pudding.  Add some Easter grass and candy...
Slip it into one of Stampin' Ups big cello bags add some raffia and you are done!  What a fun little treat for someone sweet.  Thanks for looking and have a great day everyone.
Twila
List of supplies:
Scallop Trim Border Punch  #118402 - $15.95
Scallop Oval Punch #119856 - $16.95
Pistachio Pudding Ink #131177 - $5.95
Pistachio Pudding Cardstock #131294 - $6.95
Jet Black StazOn Ink #101406 - $7.95


Monday, April 14, 2014

Fun On A Pin


I love to alter things and these giant clothespins were on my list to fix up.  I started with the pretty Watercolor Wonder DSP from the Occasions Mini... and second one using DSP from our Saleabration Flyer.
Then I added some pearls and then some chipboard die cut embellishments I made with the Big Shot and Beautiful Butterflies and Fun Flowers Dies.  I then stamp the sayings from the stamp set Feel Goods and cut and layered them with the Labels Collections Framelits.  Thanks for looking and have a great day!